반응형
웹 페이지를 더 예쁘게 꾸미기 위해서 CSS가 필수적이다.
하지만 거두절미하고 부트스트랩을 사용하면 더 편하게 꾸밀 수 있다.
우선, css파일은 모두 프로젝트 디렉터리에 static 폴더를 만들어 관리한다.
static 폴더를 만든 다음 부트스트랩을 다운받자.
다음 링크에 들어가서 부트스트랩 설치파일을 내려받자.
https://getbootstrap.com/docs/4.5/getting-started/download/
다운받아서 당장은 전부 사용할 필요는 없고, bootstrap.min.css 파일만 방금 만든 static 폴더 안에 집어넣어주자.
( 다음에 사용할 수 있으니 지우진 말자 )
그 다음 settings.py 파일을 열어서 static 경로를 추가해주자
#config/setting.py
...

STATIC_URL = 'static/'
STATICFILES_DIRS = [
    BASE_DIR / 'static',
]
...
이제 question_list.html에 부트스트랩을 추가하고, 부트스트랩에서 제공하는 클래스들로 재구성해보자.
{% load static %}
<link rel="stylesheet" type="text/css" href="{% static 'bootstrap.min.css' %}">
<div class="container my-3">
    <table class="table">
        <thead>
        <tr class="thead-dark">
            <th>번호</th>
            <th>제목</th>
            <th>작성일시</th>
        </tr>
        </thead>
        <tbody>
        {% if question_list %}
        {% for question in question_list %}
        <tr>
            <td>{{ forloop.counter }}</td>
            <td>
                <a href="{% url 'pybo:detail' question.id %}">
                    {{ question.subject }}
                </a>
            </td>
            <td>{{ question.create_date }}</td>
        </tr>
        {% endfor %}
        {% else %}
        <tr>
            <td colspan="3">질문이 없습니다.</td>
        </tr>
        {% endif %}
        </tbody>
    </table>
</div>
이렇게 작성하고 파이보 url을 입력하면,
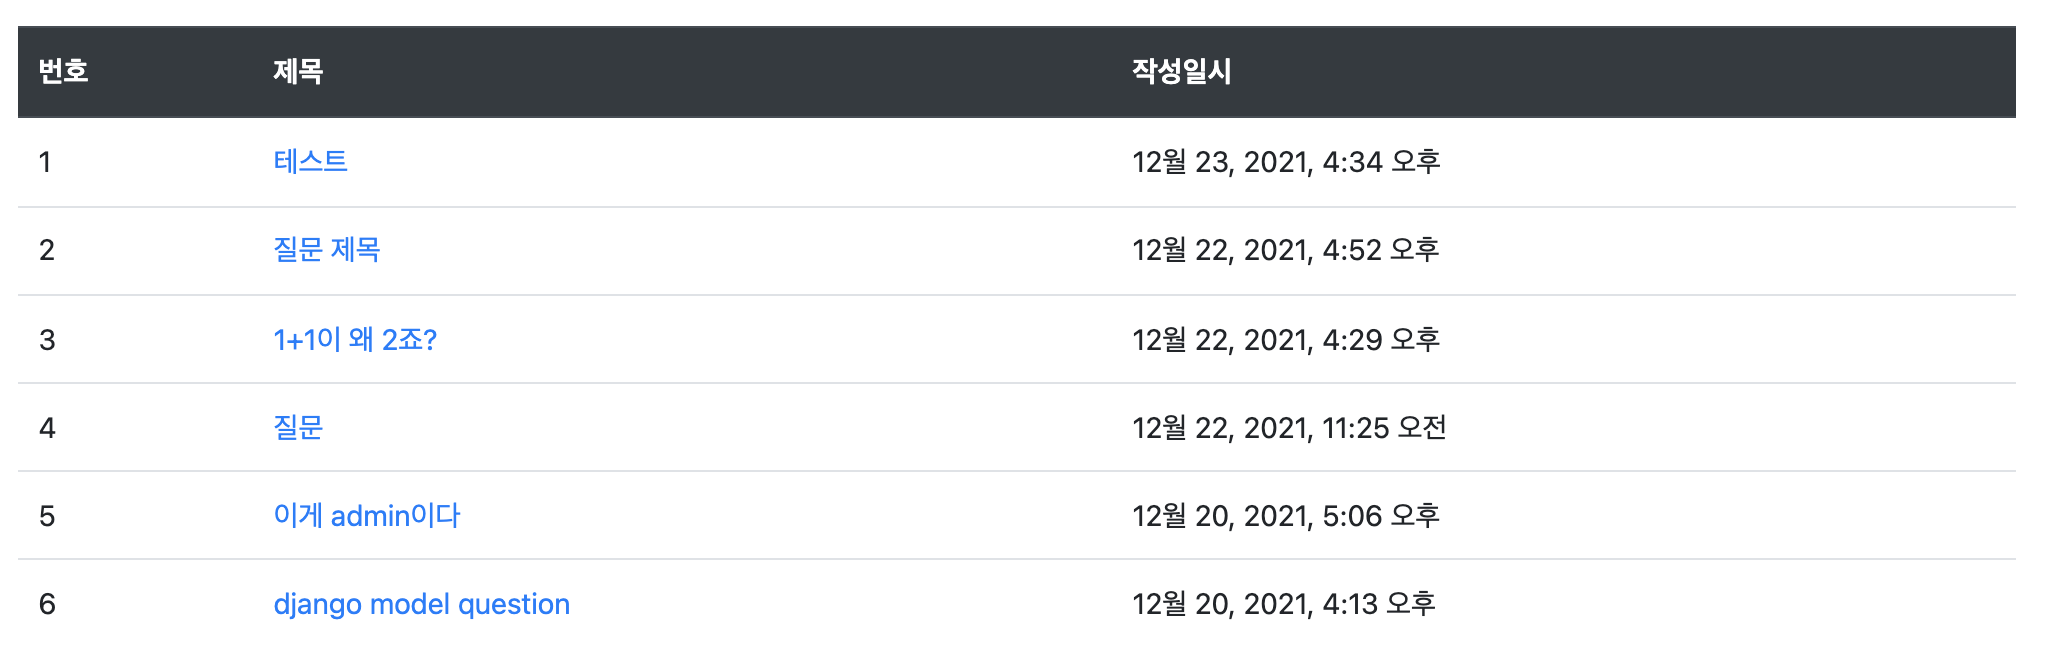
이렇게 그럴싸한 페이지가 출력된다.
질문 상세페이지도 다음과 같이 수정하자.
templates/question_detail.html
{% load static %}
<link rel="stylesheet" type="text/css" href="{% static 'bootstrap.min.css' %}">
<div class="container my-3">
    <h2 class="border-bottom py-2">{{ question.subject }}</h2>
    <div class="card my-3">
        <div class="card-body">
            <div class="card-text" style="white-space: pre-line;">{{ question.content }}</div>
            <div class="d-flex justify-content-end">
                <div class="badge badge-light p-2">
                    {{ question.create_date }}
                </div>
            </div>
        </div>
    </div>
    <h5 class="border-bottom my-3 py-2">{{question.answer_set.count}}개의 답변이 있습니다.</h5>
    {% for answer in question.answer_set.all %}
    <div class="card my-3">
        <div class="card-body">
            <div class="card-text" style="white-space: pre-line;">{{ answer.content }}</div>
            <div class="d-flex justify-content-end">
                <div class="badge badge-light p-2">
                    {{ answer.create_date }}
                </div>
            </div>
        </div>
    </div>
    {% endfor %}
    <form action="{% url 'pybo:answer_create' question.id %}" method="post" class="my-3">
        {% csrf_token %}
        {% if form.errors %}
        <div class="alert alert-danger" role="alert">
        {% for field in form %}
            {% if field.errors %}
            <strong>{{ field.label }}</strong>
            {{ field.errors }}
            {% endif %}
        {% endfor %}
        </div>
        {% endif %}
        <div class="form-group">
            <textarea name="content" id="content" class="form-control" rows="10"></textarea>
        </div>
        <input type="submit" value="답변등록" class="btn btn-primary">
    </form>
</div>
그대로 복사해도 좋고, 복사 붙여넣기해도 좋다.
html에 깊게 공부할 목적이 아니라 크게 생각하지않고 클론코딩만 진행했다.
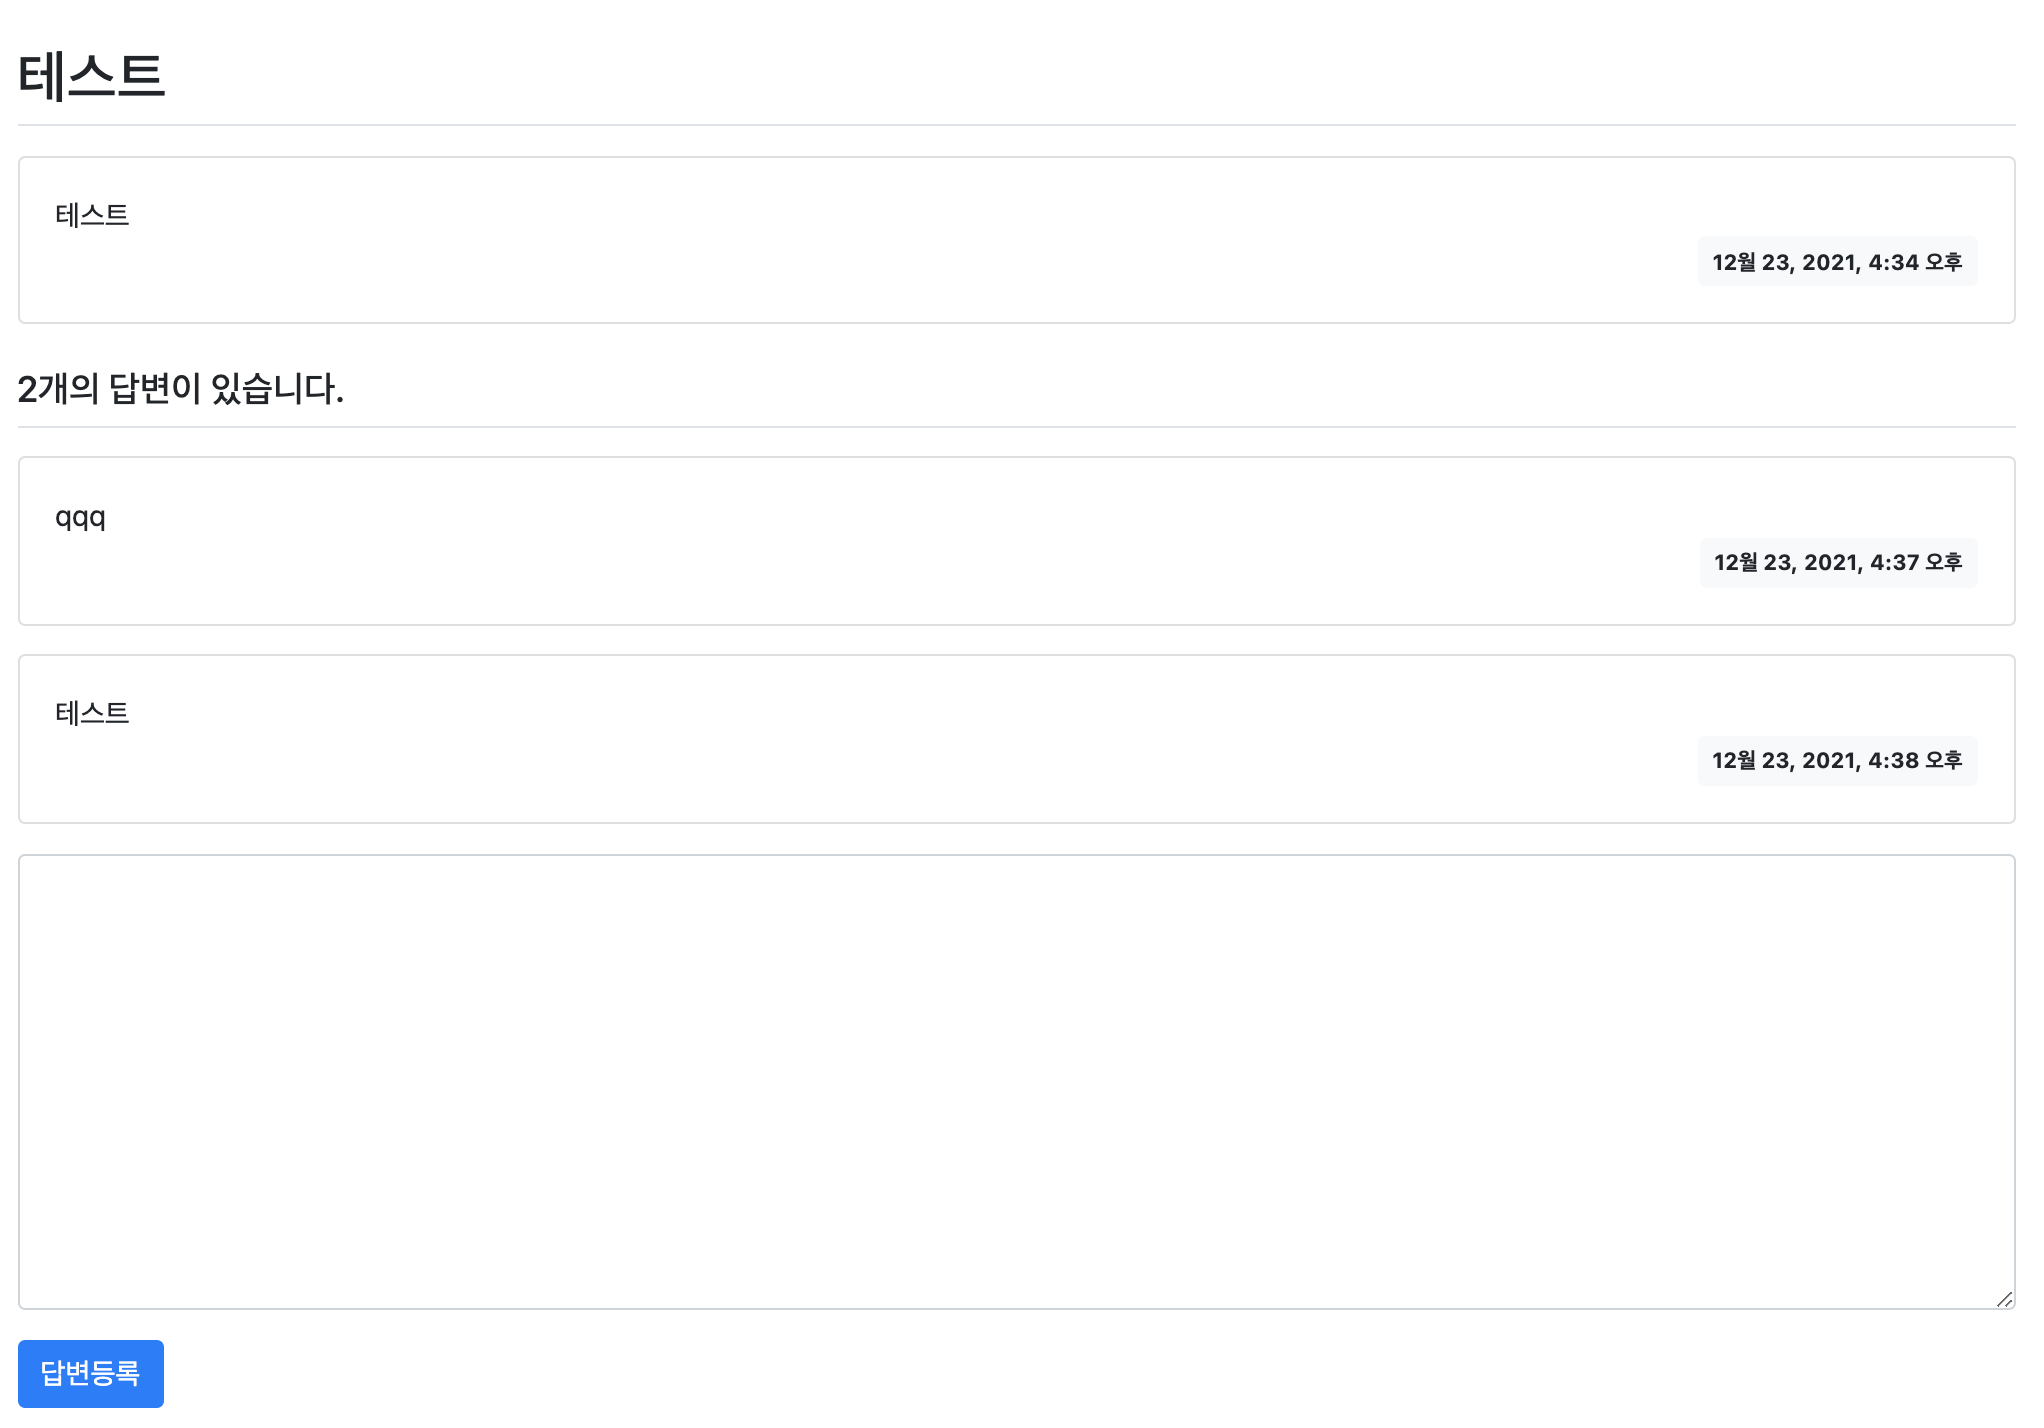
질문 상세페이지는 다음과 같이 꽤 그럴싸한 페이지가 완성된다.
반응형
'python > Django' 카테고리의 다른 글
| [Django] 11. 네비게이션 기능 추가 (0) | 2021.12.29 |
|---|---|
| [Django] 10 . 표준 HTML으로 만들기 (0) | 2021.12.28 |
| [Django] 8. 답변기능 구현 (0) | 2021.12.23 |
| [Django] 7. URL 네이밍하기 (0) | 2021.12.23 |
| [Django] 6-1. 404는 어떻게 대처할까 (0) | 2021.12.22 |